College of Liberal Arts & Sciences
How to Use Edit Stations

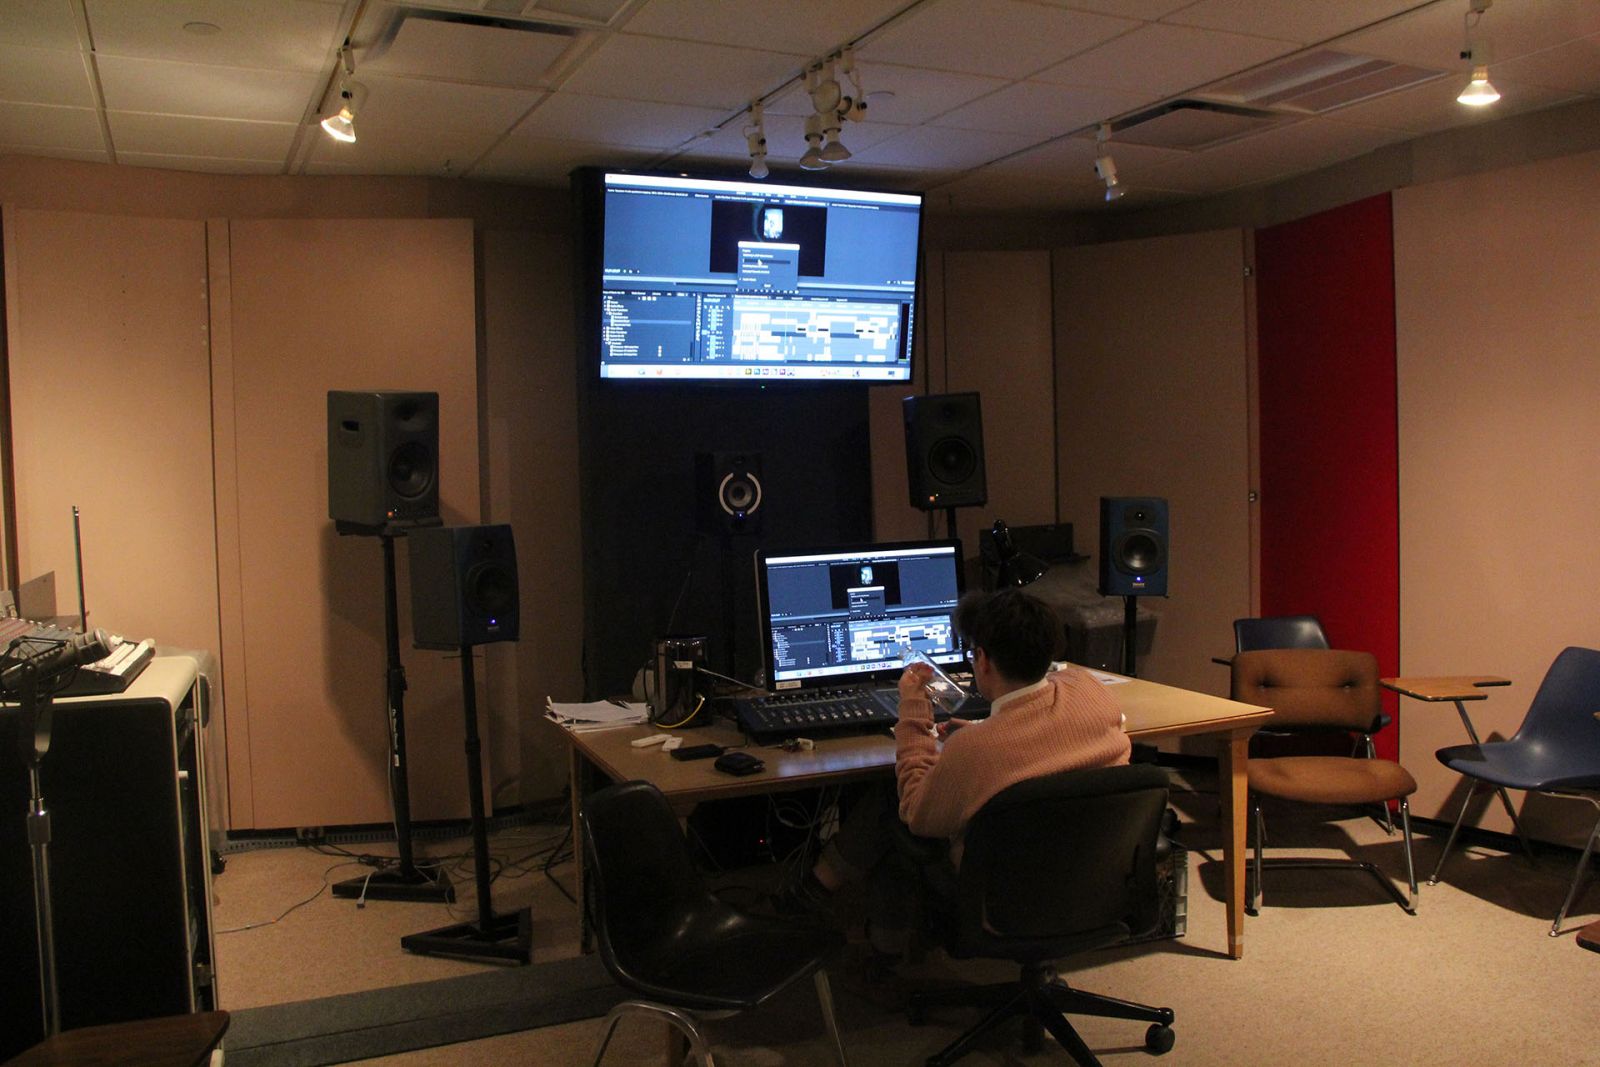
311 BCSB Power-Up Procedure
Equipment Rack Master Power
- On the left side of the rack there are 2 buttons, by pressing the green button it will provide power to the equipment. The light should turn green (Note: Red means powered off).
- Turn on the work surfaces on the table first. (Note: The work surface is the panel on the desk that has faders, knobs, and LCD screen).
- Turn on the Wall Monitor remote control POWER and then select INPUT button. (Note: TV HDMI-4 is the Computer, TV HDMI-3 is the Blu-Ray Player).
- Turn on the Mac Pro computer and make sure TV input on remote is HDMI-4.
Audio
- Turn on the Audio Mixer on equipment rack (left of computer desk station).
- Fader Microphone 1 and 2 are for the Mac computer’s audio output to drive the main 2 speakers in front of the room. Adjust these for proper audio level in the room. Make sure the faders are not muted. Check the button above the faders 1 and 2. (Note: The program fader on the right hand side audio mixer should be set to 50%).
- The Microphone in the studio is connected to Fader 3 and may be used to record into Pro-tools program.
Blu-Ray Player Audio and Video
- Assuming power is already on in step 1. Turn on the Blu-Ray player in the rack and insert media and press play.
- Change the input on the wall TV to HDMI-3, you should now see video.
- Adjust the audio level to the main-speakers by the Tape-IN Fader (a little round knob next to the LED meter on the right side of the audio mixer).
- The tape-to-main mix button below this fader must be pressed to hear the Blu-Ray thru the sound system speakers.
Shutdown
- Turn off Computer.
- Turn off Work Surface.
- Turn off Wall Monitor.
- Turn off Rack.
- Master Switch Last. The light should turn red (Note: Green means powered on).

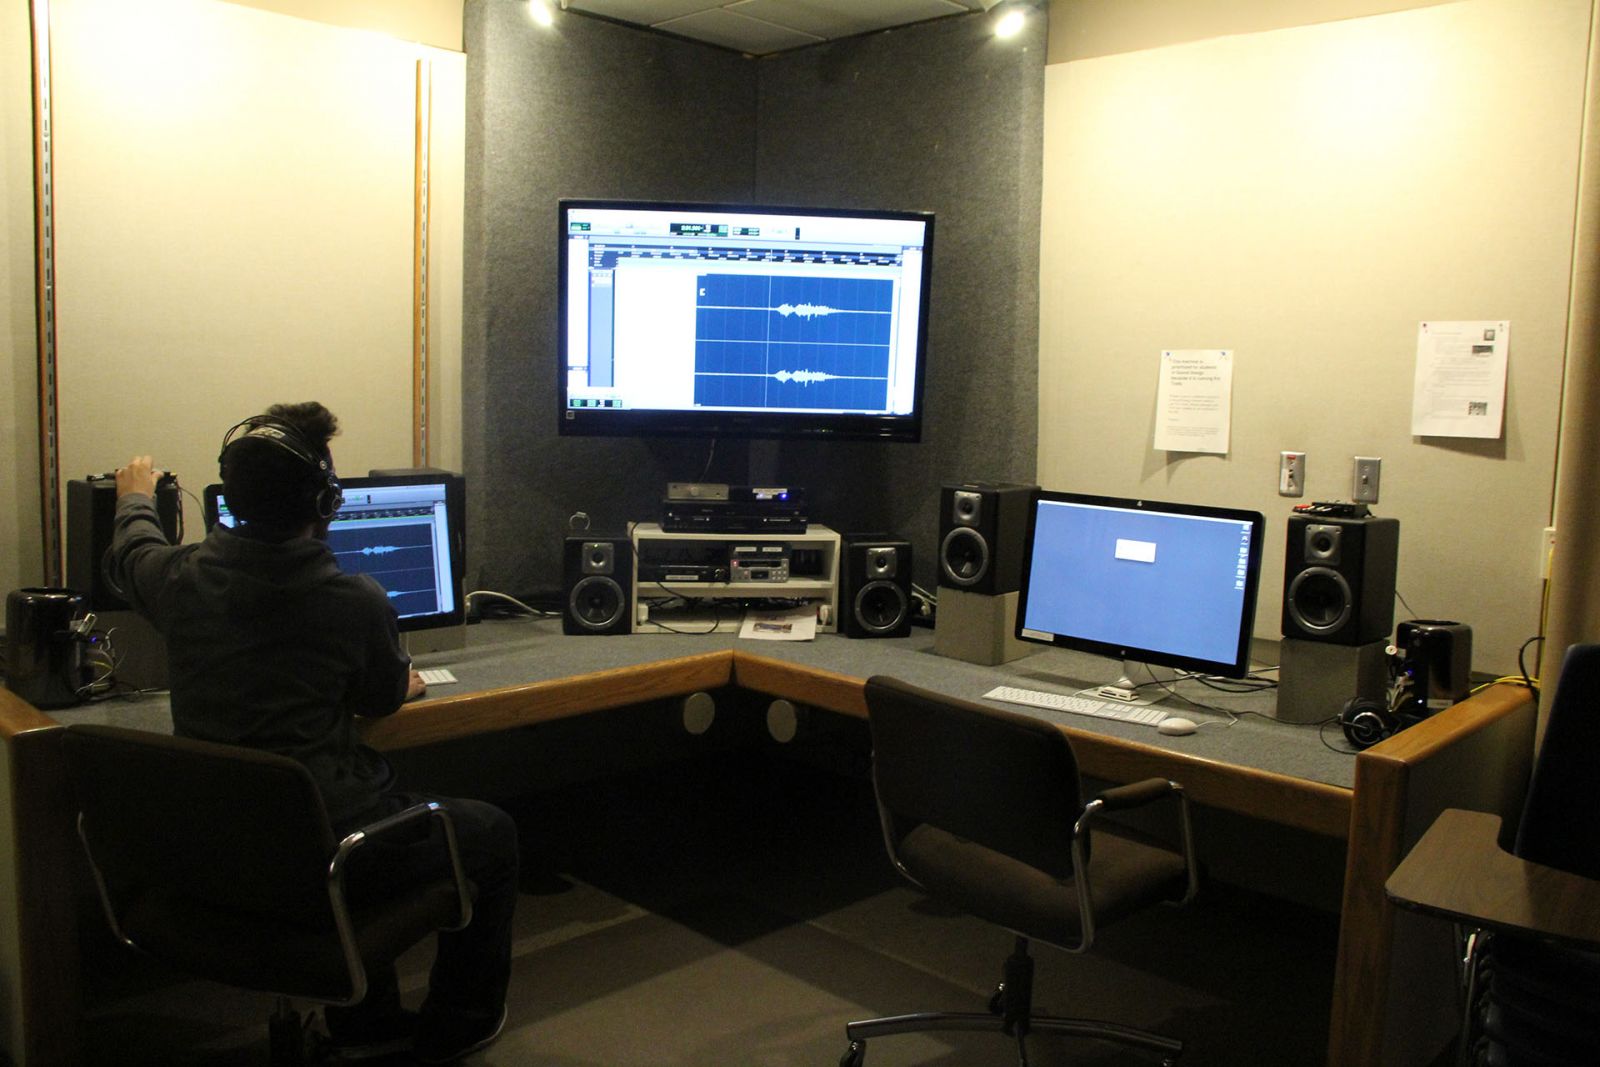
How to use the Sound System in 302 BCSB
- Make sure you turn on the power switch located behind Computer 1 on left side of room or the power switch behind Computer 4 on right side of room. (Note: The system is set up to handle either Computer 1 or 2 on left side and Computer 3 or 4 on the right side.)
- Log into the computer using your HawkID and password.
- The large Sony monitor display in between each pair of computers can only take one input at a time. Use the selector switch to decide which computer system you would like to put on the Sony monitor. (Note: A blue light appears when you activate your choice of either Computer 1 or 2.)
- Select the audio source (Computer 1 or Computer 2) on the M-Box Audio Switcher selector box under the Sony monitor. (Note: When you press on your selection for audio source, a green light will appear under the M-Box 1 or M-Box 2 label.)
- Select the audio destination on the Rolls Mixer box located on the computer speakers. Adjust volume output levels depending on the destination choices below.
- Display Speakers (Sony Monitor/Amplifier/M-Box) (Note: Adjust the volume of the Display speakers on the Sony monitor display.)
- Tapco Speakers (Computer Speakers)
- Headphones
Please do not unplug audio cables. The remote in the room will power both displays (select Input 1). Please keep the remote in plain view.