NOTE: The following guide was designed for websites built in the Drupal 7 platform on campus. This platform has been replaced on campus with the new Drupal 9 platform, which provides updated branding, features, service, and security, as well as an updated user experience. For guides and helpful instructions on the new Drupal 9 platform, please refer to the Drupal 9 SiteNow documentation.
To log into the administrative section of your Drupal site, go to your site's home page, then add /user to the end of the URL. You'll be prompted for your username and password. Enter your HawkID and password. If this does not work, you do not have administrative privileges; contact clas-strategic-communications@uiowa.edu.
If you are the main administrator for your site, please familiarize yourself with our Drupal Style and Accessibility Guide. This will ensure consistency and quality across CLAS websites.
Editing existing content
Adding new content
Uploading images (including cropping and resizing)
Aligning images
Uploading a PDF or other document
Updating a link to a file, or overwriting one file with another
Creating links
What to do with the Summary field on the Edit page
Changing the title of page
Reverting to previously saved content
Uploading Shockwave Flash (.swf) files
Menus
Troubleshooting
Editing existing content
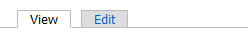
1. To edit existing content, either go to the page you want to edit and click the “edit” tab:
Or, go up to the top menu and click “Find content.” You will see a list of all the pages on the site. If you have permission to edit the page, the "edit" link will appear on the far right: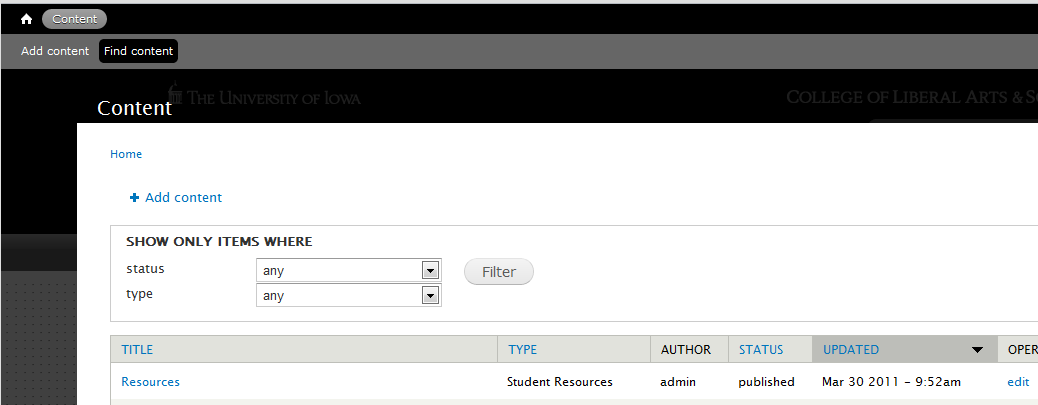
You can sort this content list based on the content type: News & Events, Profile page, etc. Just select a category from the "Type" menu, and click "Filter." 
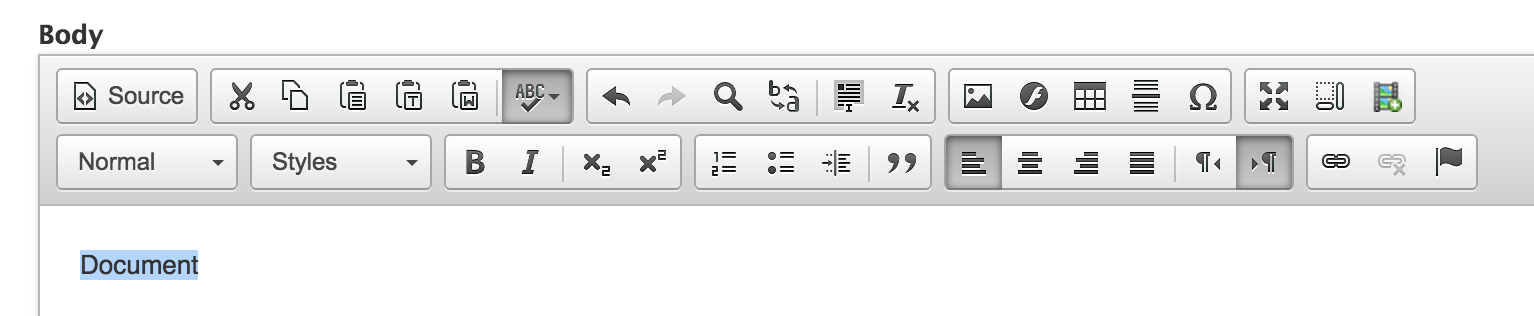
2. When you are in "Edit" mode, make your edits in the "Body" field. The text editor at the top of the field will allow you to use boldface, italics, and bullets, and insert files and images, anchor links, and hyperlinks.
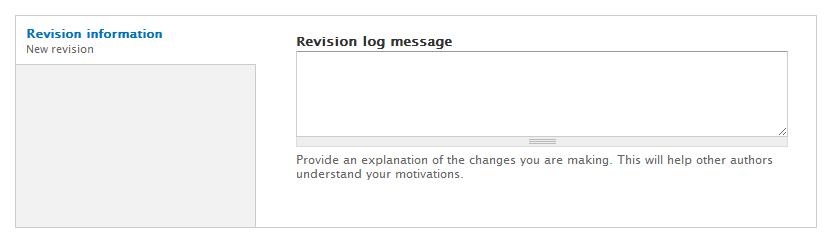
3. Before you click "Save," you may want to write a "Revision log message" in the field beneath the body area (see below) explaining what changes you made and why. This is particularly helpful if many people update your department's site; revision log messages help other web editors understand your motivations.
4. When you're finished, click "Save" at the bottom of the page.
Adding new content
1. To add new content, click on the “Add content” link at the top of the page. You will see a list of content types that you have permissions for: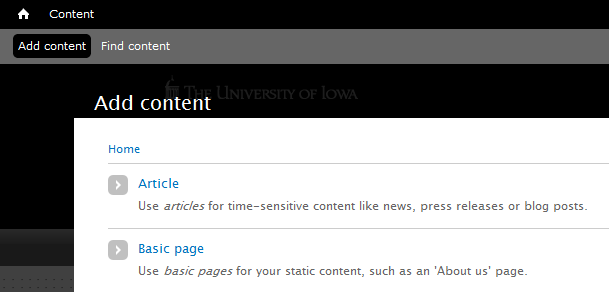
2. Select the content type you wish to create and follow the instructions next to each field. For example, if you create a News & Event item, you might see fields for a title, date & time, location, body text, etc. If you create a Basic page, you will see fields for a title and body text.
3. Complete each field and click “Save” at the bottom of the page.
Uploading images
You can resize photos within Drupal, after uploading them, or in Photoshop, before uploading them. Note: as a rule, you should avoid increasing the dimensions of images by more than a few pixels. "Blowing up" an image can often result in a poor quality, pixellated image.
To crop an image using Photoshop (i.e., to cut off unwanted edges):
- Open the image in Photoshop (right-click on the file, then select Open with-->Adobe Photoshop).
- Select this graphic from the toolbar at the left:

- Drag the box unti it is the approximate shape you want your image to be. You can move the box around the image and drag the corners of the box to make it larger or smaller.
- When you're satisfied, double-click the box.
- Choose File--> Save for Web & Devices. You should not have to change any settings here; just click "Save" to save the file to your computer. Make sure you either save over the old file or rename the new file so that you know it's the cropped version.
To resize an image using Drupal:
- Upload it, following the steps below, but stop at Step #6: do not yet double-click to insert the file into the web page.
- When you have uploaded the image, right-click on it. Select "resize" from the menu.
- Enter the new dimensions. Leave the "Create new image" box checked. Click "OK."
- Drupal will create a new file with the desired dimensions. It will have the same filename, but with the new dimensions appended.
To resize an image using Photoshop:
- Open the image in Photoshop (right-click on the file, then select Open with-->Adobe Photoshop).
- Select Image --> Image Size from the Photoshop toolbar.
- Click the Constrain Proportions box at the bottom so that your image does not distort when you resize it.
- Under Pixel Dimensions, set the width to a value less than 600 pixels (600 is the maximum width for display on a webpage). Click OK.
- Choose File--> Save for Web & Devices. You should not have to change any settings here; just click "Save" to save the file to your computer. Make sure you either save over the old file or rename the new file so that you know it's the resized version.
To upload the new image to your website, follow the steps below.
1. To upload an image into the body area, click the image icon in the text editor toolbar at the top of the field. If you hover over the icon, the word "Image" will appear.

2. Click the Browse Server button:

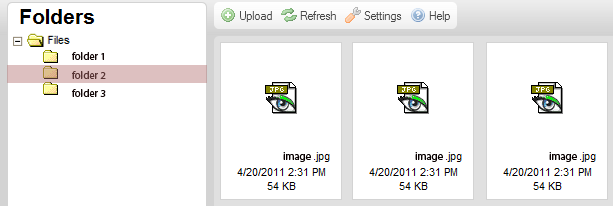
3. This will open a view of the file system on your site.
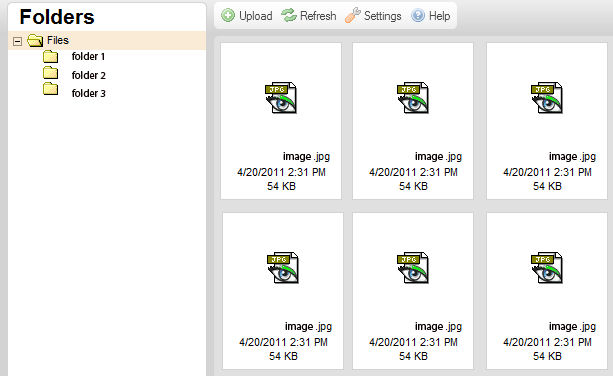
4. Select the folder that you want to upload your image or file into. Note: you will only have access to one folder based on your access role.
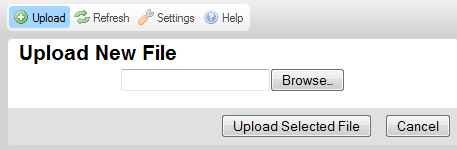
5. Click on the "+ Upload" button, and the "Upload New File" interface will appear. Browse for your file and click "Upload Selected File" button.
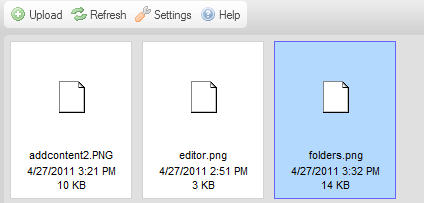
6. Your uploaded file will appear highlighted in blue. Double-click the file to return to the original upload window.
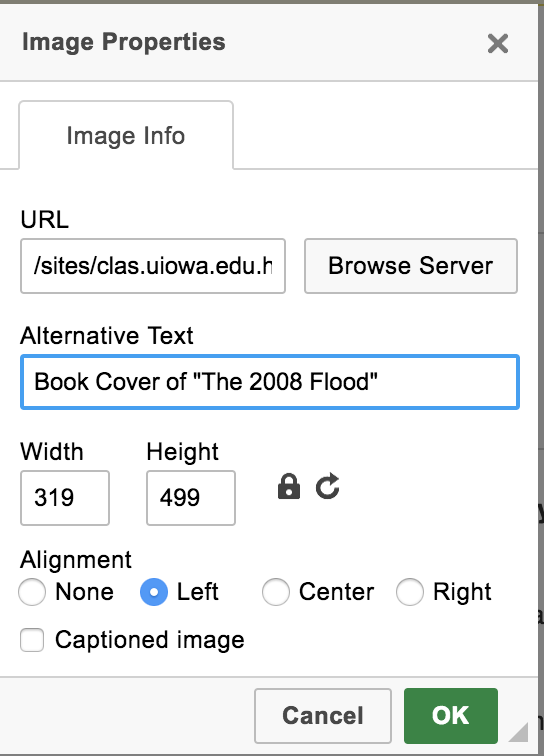
7. Here, you will add "alternative text" to the image. This is the text that screen readers (for the visually impaired) will read aloud, and that will appear if the image does not load. For purposes of web accessibility, you MUST enter alternative text into the Alternative Text field. Read more about alternative text.
Do not use the "width," "height," "border," "HSpace," "VSpace," and "Alignment" boxes. (They will appear to work while you are in Edit mode, but when you save and view the page, that formatting will be stripped out.) To resize an image, see above. To align an image to the left or right of the text/screen, see Aligning Images. You cannot add borders to images. The padding around the images is preset and cannot be adjusted.
When you are finished adding alternative text, click OK.
.png)
Your image will appear in the body area:

Aligning Images
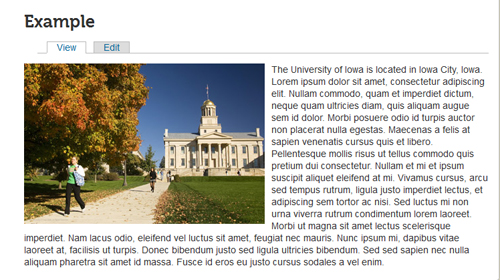
An image's alignment refers to its position in relation to the text around it. Drupal's default alignment for all images inserted into a web page is "None," which means that any text accompanying the image will appear at its bottom right corner, as if the image were the first word of the sentence (see screenshot below).
If you want your text to "flow" around the image, you can either left- or right-align it. To do this, select the alignment in the Image Properties pop-up:
Selecting "Left" will place the image on the left of the page and cause the text to flow around its right side. Selecting "Right" places the image on the right and causes the text to flow around its left side. NOTE: You will not see the alignment occur while you are in Edit mode. You must Save the page to see it.
Here is what a left-aligned image looks like:
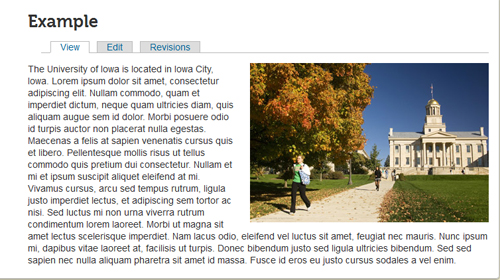
And here's what a right-aligned image looks like:
You don't have to assign the same alignment to all the images on a page; one could be left-aligned and one could be right-aligned.
Uploading a PDF or other document
Note: Please convert Microsoft Word documents to PDFs whenever possible. To save a document as a .pdf, open the document in Word, select Save As, and choose .pdf from the Save as type drop-down menu. If you're using a Mac, open the document in Word, select Print, and click the PDF button in the lower left-hand corner of the print dialog box. Then click Save as PDF.
1. In the body area, type a description of the document you want to link to.
2. Highlight the text.
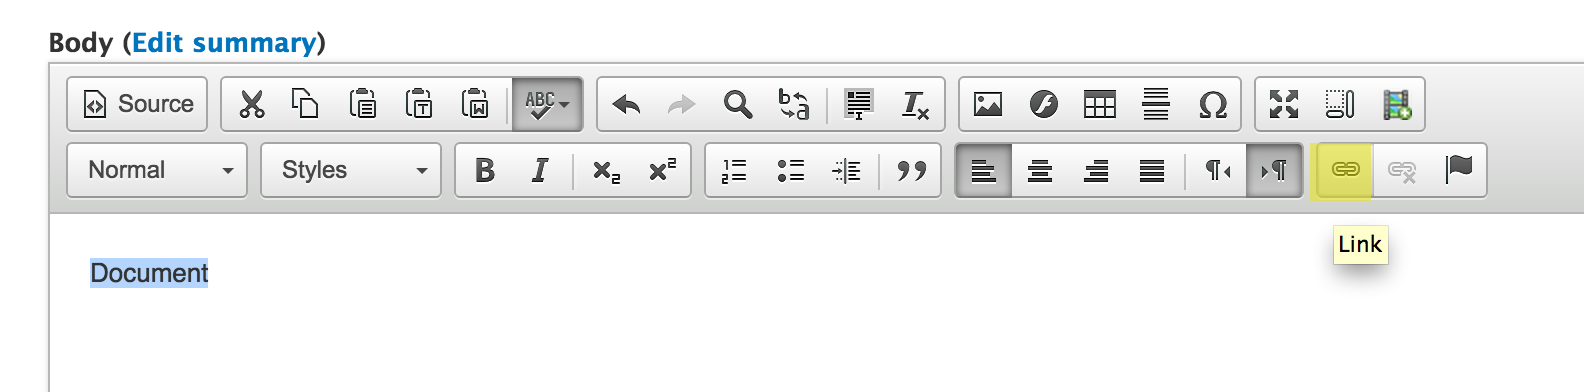
3. Click the globe icon in the text editor toolbar. If you hover over the icon, the word "Link" will appear.
4. Change the "Link Type" to "Url" and click the "Browse Server" button:
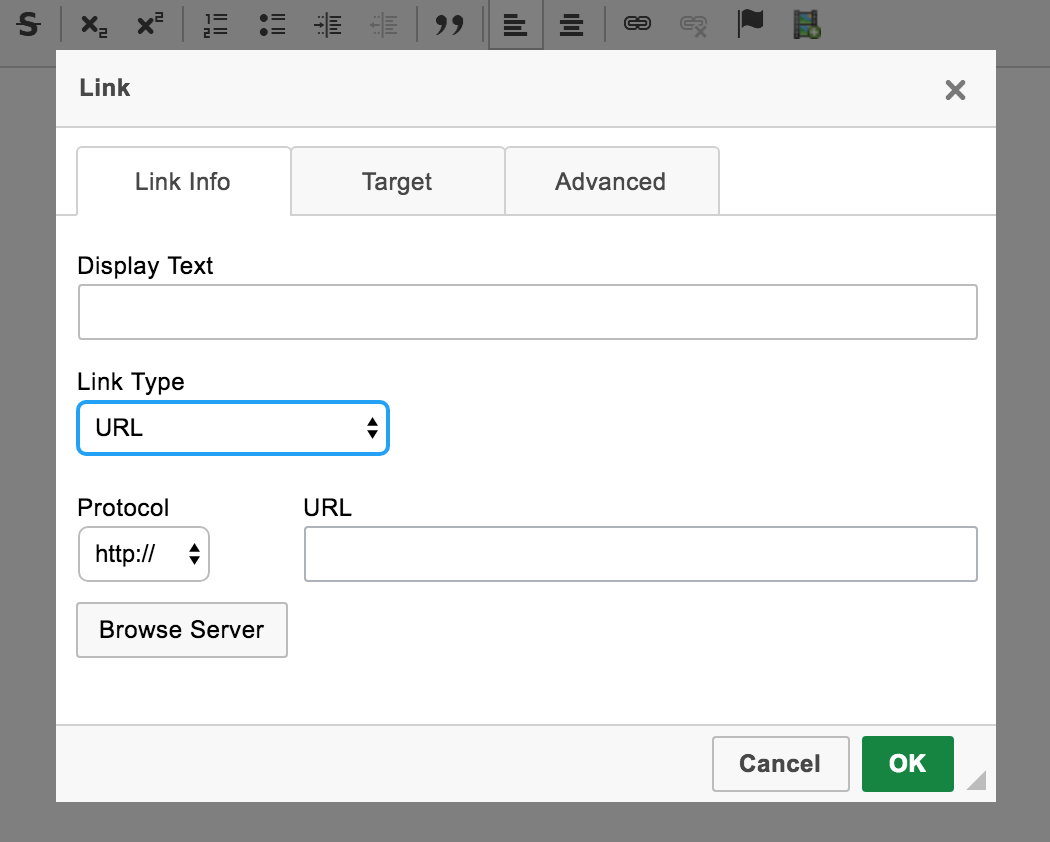
5. This will open a view of the file system on your website.
6. Select the folder that you want to upload your image or file into. Note: you will only have access to one folder, based on your access role.
7. Click on the "+ Upload" button, and the "Upload New File" interface will appear. Browse for your file and click "Upload Selected File."
8. Your uploaded file will appear highlighted in blue. Double-click the file to return to the original upload window.
9. Click “OK” and Save.
Updating a link to a file, or overwriting one file with another
Let's say that your site links to a PDF on your server called "Scholarship_Application," and you need to update the scholarship application to reflect the new academic year. If you no longer want the previous file (in this case, the previous year's scholarship application) to be accessible, we recommend that you overwrite the file, using the same filename. In this case, it is important to FIRST delete the outdated file from the server; see instructions below. We recommend this if you have files on your site that are updated every semester or year and that you link to throughout your site. (If you give the new file a different name—say, "Scholarship_Application12-13"—and forget to update all the links to that application, so that they go to the new, "12-13" file, those links will break. On the other hand, if you use the same filename—preferably, a generic filename without a date reference—all the links to that file on your site will automatically be updated when you overwrite the old file with the new one.)
Remember, if you want to delete or update a link to a file that is out of date, or overwrite an out-of-date file, it is important to FIRST delete the outdated file from the server; see instructions below. If you skip this step, Drupal will add a "(1)" to the new file's name to differentiate it from the old file of the same name, which defeats the purpose of overwriting a file.
1. Double-click the link to the file you want to overwrite or delete. Make sure you highlight the full link.
2. Select the link icon from the toolbar (the chain). This will open the link dialog box:
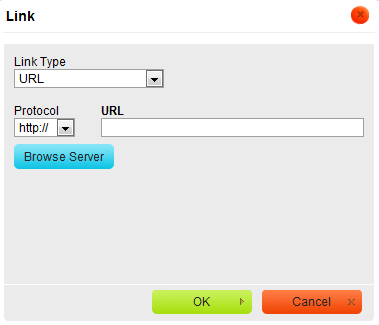
3. Click the "Browse Server" button. This will open a small window where you can see the list of files that you have already uploaded:
4. Right-click the file that you want to delete. This will open a menu of options; click "Delete" and confirm the deletion when prompted. Note: you will only be able to delete files within folders that you have permissions to.
5. Now upload the new file and click on it. This will return you to the original link dialog box.
6. Click OK to insert the link.
Attention! If you overwrite a file and then try to "test" the link to make sure it worked, you will see the old file if you recently opened it. This is because your browser cached the old file. If this happens, you must clear your browser's cache to see the new file. Your departmental IT consultant can help you do this if you don't know how.
Creating links
1. Highlight the text you want to link.
2. Click the globe icon in the text editor toolbar.
3. Type the URL into the URL field. Note: If you are creating an internal link (i.e., linking to a page within the CLAS site), do not preface the URL with "http://clas.uiowa.edu." Just use the second half of the URL, beginning with the single forward slash (/). For example, if I wanted to link to the LMC's Resources page (https://clas.uiowa.edu/dwllc/lmc/resources), I would enter the URL as /dwllc/lmc/resources. This will prevent Drupal from adding an external link icon to the link.
What to do with the Summary field on the Edit page
On some pages, you might find a Summary box above the Body content of the page you are editing (see below). If this is the case, click the "Hide summary" option next to the Summary title. Do not use the Summary box.
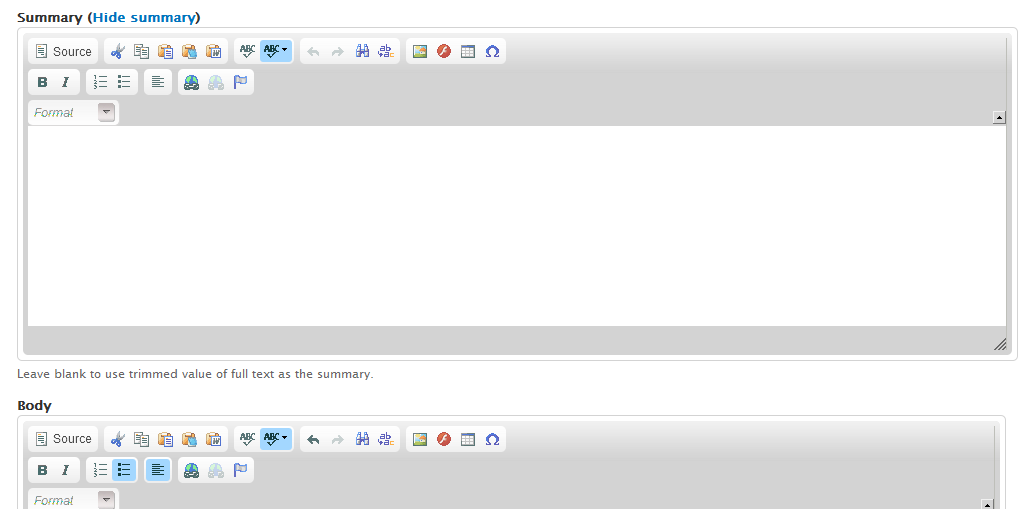
This is how the page will look with the Summary box hidden:

Changing the title of a page
If you are editing an existing page on your site, please remember that the URL of your page is dependent upon the title of your page. If you edit the title of one of your pages, this will also change the page's URL. This is a problem if there are links to that page throughout your website; changing the page's title will break those links. You will have to find and change all the links. Contact Web Services if you have any questions about changing the title of your page.
Reverting to previously saved content
If you make a mistake and want to roll back to a previous version of a page, contact Web Services. We have page revisions enabled for most pages (though you cannot see or access these yourself).
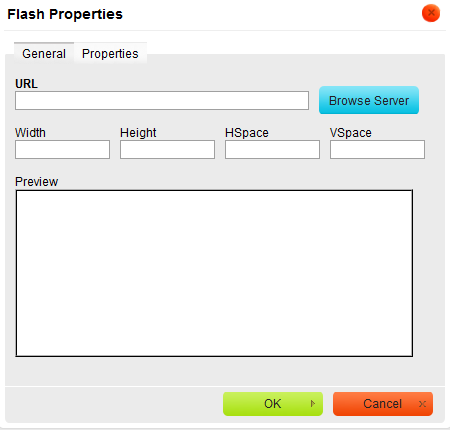
Uploading Shockwave Flash (.swf) files
1. Click the red circle with the "f" in the top right corner of the text editor toolbar.

2. Click the "Browse Server" button to upload the .swf file, and follow steps similar to uploading images and documents.
Menus
If you want your page to show up in an existing menu, please contact Web Services.
Troubleshooting
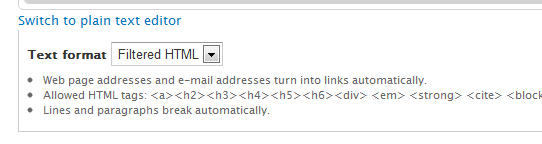
1. If the page you create does not look like it should—the headings or images aren't appearing, etc.—change the "Text format" underneath the body area to "FULL HTML." If this does not solve your problem, contact Web Services.
2. If you have overwritten an old file (e.g., a PDF or Word doc) with a new file, keeping the same filename—and you still see the old file when you click on the link, you probably need to clear your browser's cache. If you need help with this, contact your departmental IT Consultant.